This page will serve as a rough tutorial as well as a digital “Build Book” for my entry to FanX’s Cosplay for Conservation Contest on October 28th, 2022.
This costume has been a process over four years – mostly because I had the fabric parts mostly done and then got sidetracked onto other projects until the summer of 2022.
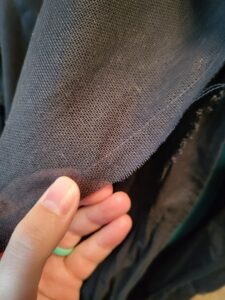
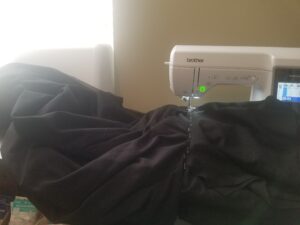
I started the fabric back in 2018 and used the B part of Simplicity pattern 1582 “Teen’s, Men’s, and Women’s Hooded Cape Costume” for the hooded cloak. I also made the tunic part C from the same pattern. As I had already made the cloak pattern twice before I neglected to take as many pictures. I made it in two layers – a simple black cotton underneath and what I think may have been 8 yards of tobacco cloth (everything that Utah’s Joann’s stores had at the time) as the outside layer. I made sure to serge or cover the seams that I didn’t manage to serge earlier, so it should only be fraying where I want it to. Which is, well, pretty much all the other edges.
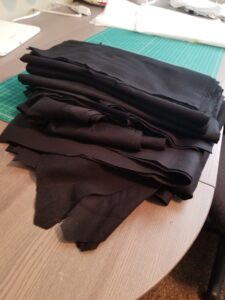
I chose the tobacco cloth because it was the closest I could find to a rough linen. I pinned both the cotton and the tobacco cloth together and assembled the different yoke parts, sleeves and the large bottom pieces as shown in the pattern.
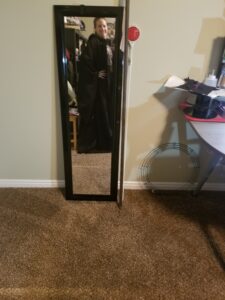
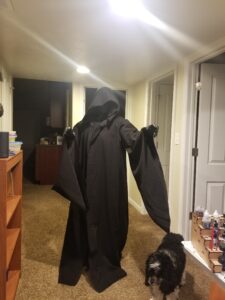
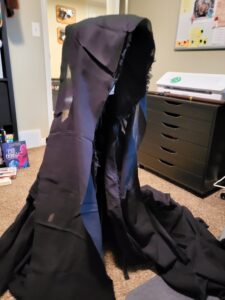
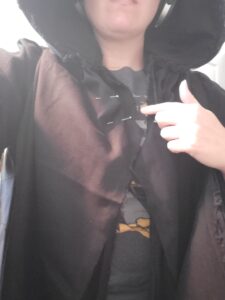
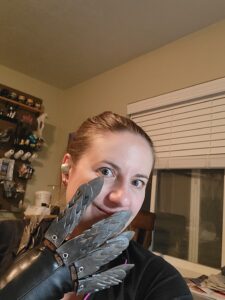
In the pictures below: showing off just how huge these things got, the mostly finished product side and front view (yes, it gave me serious Emperor Palpatine vibes), the drapey sleeves and how it looked with the zentai-like mask and just the pleather gloves. Also my dog, Rosie’s, first cameo in this tutorial.

On the tobacco cloth I wanted a frayed look, so I sewed a simple straight stitch to keep the fraying from going too far and then picked at the fabric and washed it once to help facilitate the worn look.
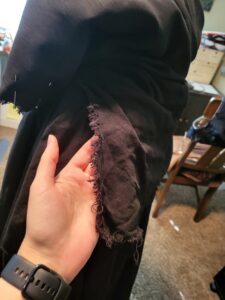
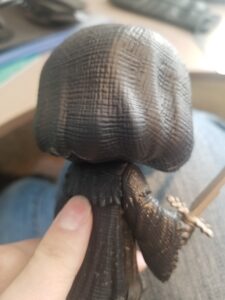
After looking closer at the Funko pop model I have – an easier reference piece than trying to stare at screenshots from the movie – I added a flap on the back ending a little below my shoulderblades after completing most of the costume and patterned the piece freehand. I machine stitched it on and made sure the edges were properly frayed.
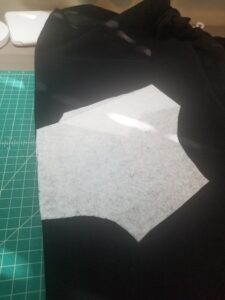
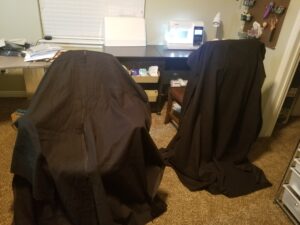
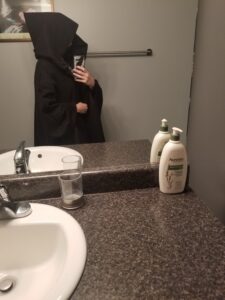
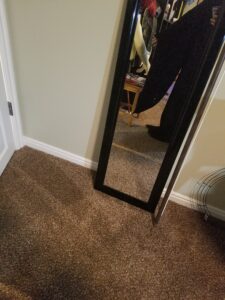
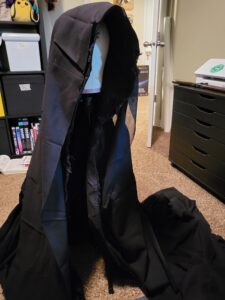
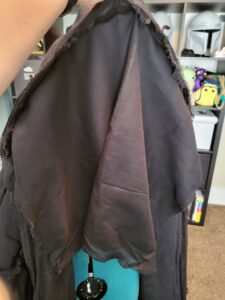
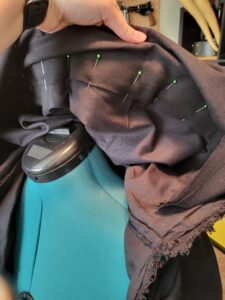
This month I realized that my face would not be concealed correctly, so I added the fabric panel (two layers of tobacco cloth) to hang in front of my face as well as adding a long strip to go over the hood and hang down in the front to better match the rag-like look of the creature’s robes. I tried draping the fabric on my dress form and my wig head on a stand for the first time ever, in the hopes of getting the draped fabric on the front to lay correctly. I hope I achieved an adequate flowy look from it. I also added a small strip of stiff interfacing inside the front of the hood to keep it open and some more structure.
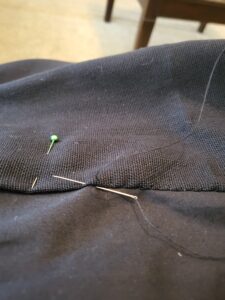
For the pictures below, this is me draping the hood with my head mannequin, then testing the fit post-pinning on the hood on my body mannequin. I decided to only sew down the fabric strip part way on the front so that it could flow and move easier. The flat folded-over tobacco cloth fabric is what I used to cover my face and my hand stitching shots afterwards to eliminate too many seams or stitches being visible on the outer layers.

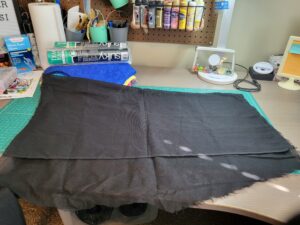
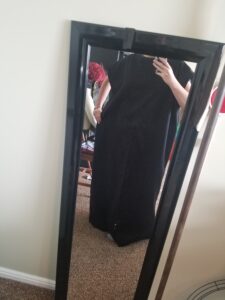
For the tunic it’s a very basic piece of clothing – literally a front and back piece with a neck hole and two empty sleeve holes for the arms. I made sure to serge and finish the edges. I followed the pattern directions, sewing the cotton and tobacco cloth layers together at the same time. In the picture below I tried it on and determined I needed to tailor it a little more. I unfortunately do not have any other WIP pictures.
The other two main elements for the costume are the gauntlets and the sabaton.
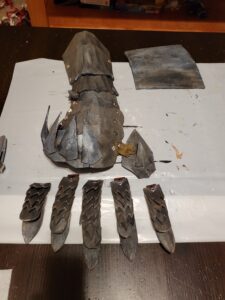
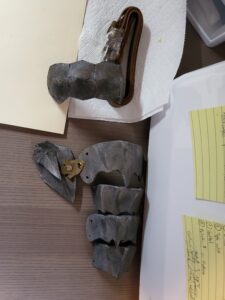
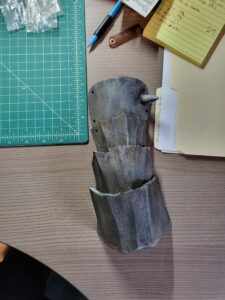
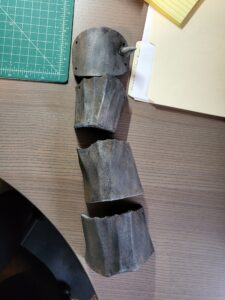
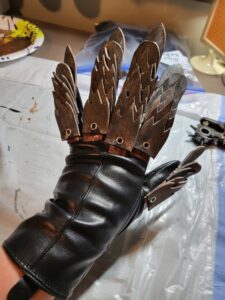
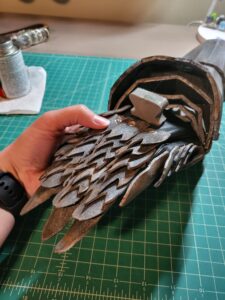
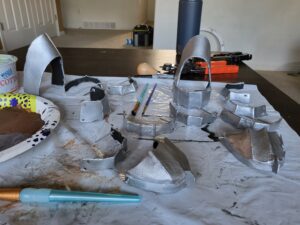
I used a free pattern from Bill Doran of Punished Props for the gauntlets and thankfully didn’t have to size down the pattern much at all. I did end up taking a centimeter or two off of a few of the pieces on the back of the hand because it was oversized for my hands. I had to freehand cut the spike on each wrist piece on the gauntlets, shaving it down roughly with an exacto knife, shaping it with smaller cuts and then heat sealing to remove the fuzzies that foam makes when you cut it roughly. All of the other armor pieces were all cut out by hand, heat sealed with a heat gun and shaped by hand. I painted them with a paint brush with a basic silver acrylic, then did a wash/weathering pass with a watered down mix of browns and black paint, wiping most of it off before it dried. I sealed the paint with a spray clear coat. This was my most ambitious foam project yet, so I’m very proud of how well they have turned out.
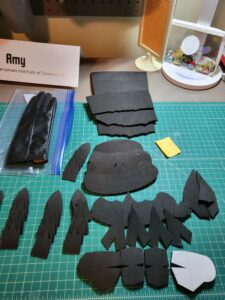
The two videos (feel free to mute, there is no speaking in them) is me showing how the thumb piece is attached through the glove, as well as glued on. The second video is me showing all of the pieces laid out roughly in order. I had attached the black webbing as a quick measure with hot glue. I later removed that and upgraded it to leather straps meant for purses (cut shorter and holes added by me) glued on with contact cement.
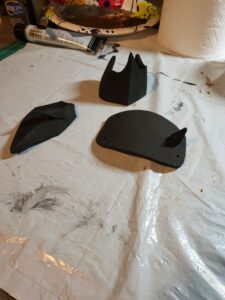
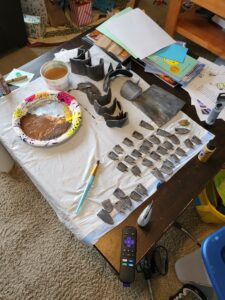
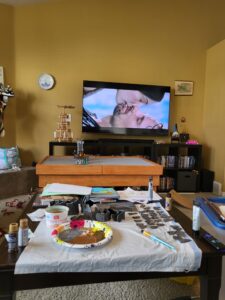
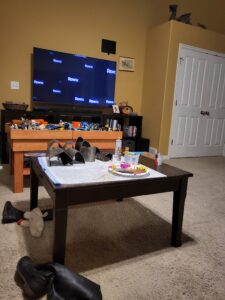
The following pictures are the raw foam, with silver paint, the weathering (while watching LotR, of course), partially assembled, and the left assembled and only missing the straps on my arm. Also included some in-progress shots of the right gauntlet in progress.
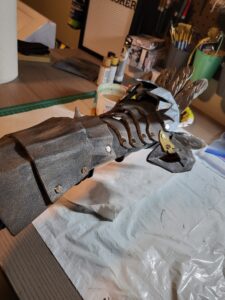
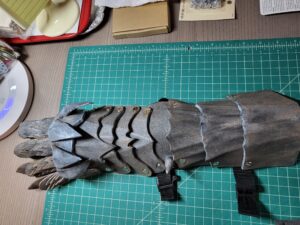
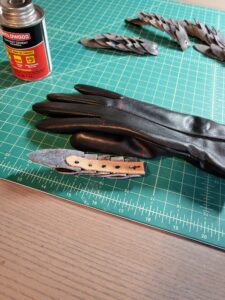
Each finger piece is attached by eyelets to a small piece of leather which was glued down with contact cement onto a black pleather glove. Several holes were punched into the glove to accommodate Chicago screws as well as using more Chicago screws to connect all the pieces together. I used another piece of thicker EVA foam to prop up the piece over my knuckles. I glued on leather straps with contact cement to keep the gauntlets in place on the forearms. I had used webbing and buckles on one, but replaced it with leather afterwards.
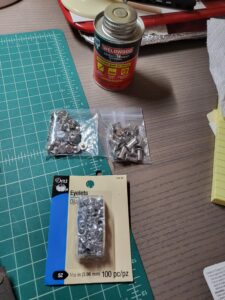
The video clip below (feel free to mute it, the hammering could get loud) is me showing how I put every single eyelet into the leather pieces that would be glued to the fingers of each glove. I filmed it from my table edge towards my work surface which is a piece of countertop covered in ducting tape – which I can use my heat gun directly on.
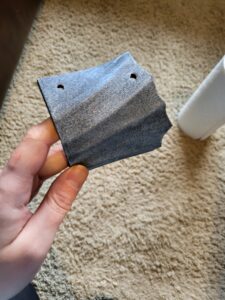
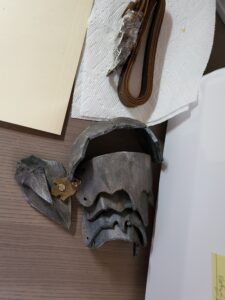
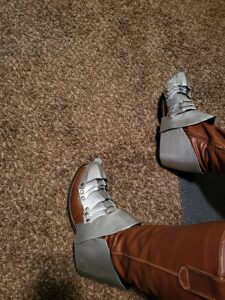
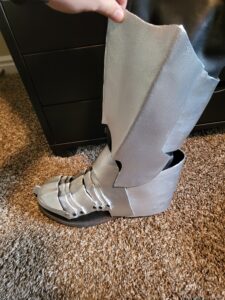
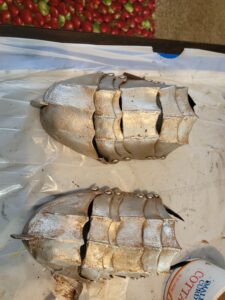
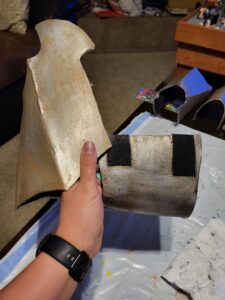
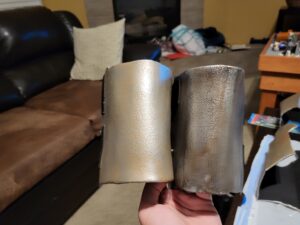
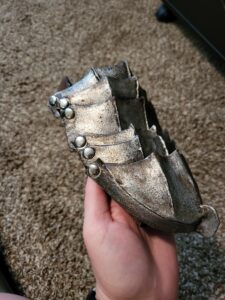
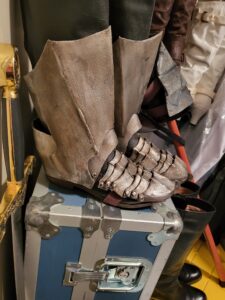
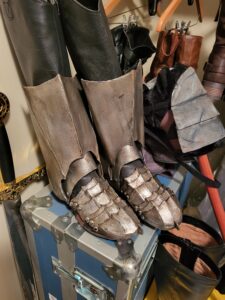
The sabaton/boot armor are foam and Worbla, as I was worried that foam alone would get too abused on boots. I bought a pattern from Lindy Design Lab on Etsy for this part. I made a base layer with thin EVA foam and then attached Worbla to it, curling the latter over the edges to hide the seams. They were shaped to my boots – I used light brown boots at first before acquiring some black ones at a thrift store. That meant they were pre-weathered for me. I added five or so layers of mod podge on top to smooth out most of the roughness on the Worbla, leaving a little to give it a more aged metallic feel. I used a similar silver acrylic paint, painted on with a normal brush by hand, then weathered it with a similar process. It was clear coated the same way. I did take several WIP pictures to test the whole costume before I had weathered everything, so that’s why they may look too shiny in some pictures.
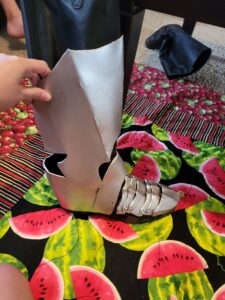
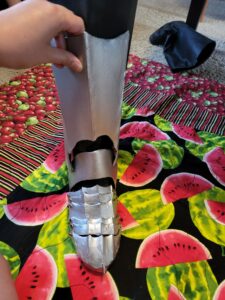
I neglected to take any pictures before I attached the foam to the worbla; but here are a few fit tests, in progress of weathering, documenting the different straps and velcros and how it looks on the boots. I have since painted the straps that go underneath the ball of the foot darker to better blend. The last picture does show an underneath view of a few worbla pieces before I’d weathered the sabaton pieces.
With the gauntlets I had to carve out some small amounts of material from the back and then glue them back together so that I could make the ridged points in the foam. With the sabaton I heated the worbla and foam with a heat gun and carefully forced them into position. All painting took place afterwards. Working on both of these armor piece sets has helped me to get far more comfortable with foam and worbla.
I got super lucky and was the recipient of a Ring Wraith sword by Bill Doran of Punished Props for a Secret Santa in 2021, so while I hope to use it for my stage performance I do not claim that I made the gorgeous prop.
I bought a belt and sword frog on Amazon; I also am using two leather pouches on the back of my belt from Flying Marlena’s to hold my phone and keys, but they should not be visible. I do not claim that I made those either.
In total, my time estimates are eight hours for the gauntlets, six hours for the sabaton, four hours for the tunic, and eight hours for the cloak. This is all spread over a longer period than it should be, but I am so glad my Ring Wraith (or Nazgul, as I keep calling it and then confusing everyone) is finally done!